Adding Vehicles
Adding Vehicles
Vehicles are essential for operating the SolBox platform, as they are tasked with fulfilling delivery manifest assignments. Each vehicle must be linked to a manifest for effective tracking and delivery management. In addition to being assigned to a manifest, vehicles can also be associated with driver(s) for operational purposes.
The SolBox system tracks vehicle locations using GPS data collected through the mobile devices installed in the vehicles. This real-time tracking is displayed on the dashboard map and within each vehicle's profile. The location data is continuously updated while the vehicle is online, based on the connectivity of the vehicle’s mobile device.
If a vehicle goes offline, it means the system is no longer receiving real-time GPS data. In such cases, the dashboard will only display the last known location and timestamp when the vehicle was last online.
Add new vehicle
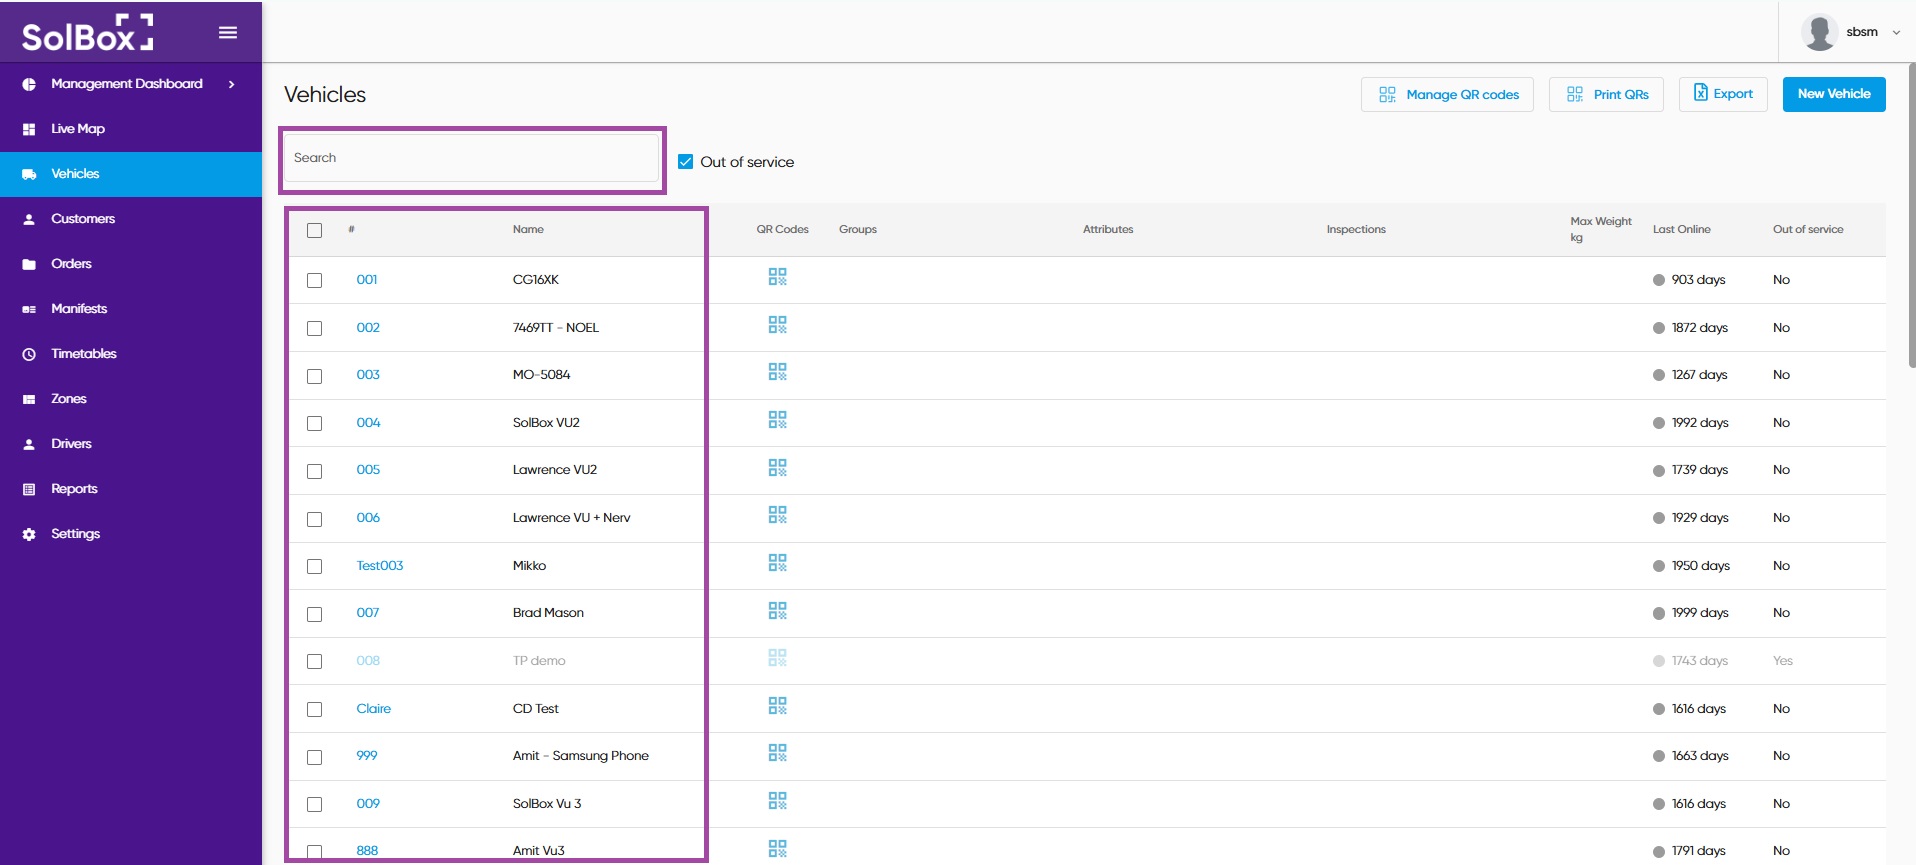
1. In the menu, click on Vehicles:
2. Click "New Vehicle"
3. Fill out "Vehicle Name" > Click "Save"

Vehicles must have a unique name but can be named anything of your preference eg. 123ABC (rego number) or Big Blue Van (identifying details).
3.1 Go back to "Vehicles" to look for the new vehicle that was added and search for the vehicle name in the search bar or in the list
4. Fill out relevant vehicle's details in the "General" tab > click "Save Changes"

Only asterisk (*) fields are required
- "Rate per km" is the rate at which your vehicles costs you to run per km. If this section is completed, the system will calculate the estimated cost of each manifest based on the kms of the run and the cost of the driver per hour. The driver costs can be filled in when creating/editing a driver. We will go over driver costs in the Adding Drivers section.
- "Max capacity" is the maximum capacity that vehicle can handle to be loaded with. Vehicle's capacity will be use to calculate load optimisation when creating a manifest. This can be any unit of measure (UOM) which must be consistent with the Order capacity (when entering a new order) UOM e.g. weight/volume/people/cartons etc.
- "Max Load Length" is the maximum length (m) that can be loaded onto the vehicle. The Max Load Length will be used when calculating load optimisation when creating a manifest.
- "Out of service" to be ticked if you want to exclude this vehicle in optimisation or allocation.
This completes adding a vehicle to SmartMove. If you have further questions or issues, feel free to contact our customer support team or consult our online knowledge base for further assistance.
Related Articles
Adding Drivers
Adding and Managing Drivers in SolBox Drivers are required to operate the SolBox platform. They are assigned to manifests, vehicles, and complete their assigned manifests through the driver app. Each driver must: Have a unique name and login ...Adding Vehicle
Vehicles play an essential role in the SolBox platform, as they are responsible for completing delivery manifest assignments. Each vehicle must be linked to a manifest for effective tracking, allocation, and delivery management. Additionally, ...What is Prestart Management?
What is Prestart Management? Prestart Management allows creating and managing the safety checks drivers must complete before operating a vehicle. Prestart plans can be set up, check items defined, plans assigned to vehicles or groups, and completion ...Temperature Sensors: Adding, Pairing, & Unpairing
Summary: This article explains how to add a sensor to the platform, pair it with a vehicle and how to edit sensor if the sensor is moved to a different vehicle. Each temperature sensor has its unique identifier called the MAC address. Aside from the ...Attributes
Attributes Attributes are labels that describe the capabilities or classifications of vehicles, orders, and drivers. Examples include: Truck Van Refrigerated Tail Lift Adding an Attribute Go to the Settings menu. Click on the Attributes tab. Click ...